Automatically downloading nursery photos from ParentZone using Selenium
My son goes to a nursery part-time, and the nursery uses a system called ParentZone from Connect Childcare to send information between us (his parents) and nursery. Primarily, this is used to send us updates on the boring details of the day (what he’s had to eat, nappy changes and so on), and to send ‘observations’ which include photographs of what he’s been doing at nursery. The interfaces include a web app (pictured below) and a mobile app:

I wanted to be able to download all of these photos easily to keep them in my (enormous) set of photos of my son, without manually downloading each one. So, I wrote a script to do this, with the help of Selenium.
If you want to jump straight to the script, then have a look at the ParentZonePhotoDownloader Github repository. The script is documented and has a nice command-line interface. For more details on how I created it, read on…
Selenium is a browser automation tool that allows you to control pretty-much everything a browser does through code, while also accessing the underlying HTML that the browser is displaying. This makes it the perfect choice for scraping websites that have a lot of Javascript – like the ParentZone website.
To get Selenium working you need to install a ‘webdriver’ that will connect to a particular web browser and do the actual controlling of the browser. I’ve chosen to use chromedriver to control Google Chrome. See the Getting Started guide to see how to install chromedriver – but it’s basically as simple as downloading a binary file and putting it in your PATH.
My script starts off fairly simply, by creating an instance of the Chrome webdriver, and navigating to the ParentZone homepage:
driver = webdriver.Chrome()
driver.get("https://www.parentzone.me/")
The next line: driver.implicitly_wait(10) tells Selenium to wait up to 10 seconds for elements to appear before giving up and giving an error. This is useful for sites that might be slightly slow to load (eg. those with large pictures).
We then fill in the email address and password in the login form:
email_field = driver.find_element_by_xpath('//*[@id="login"]/fieldset/div[1]/input')
email_field.clear()
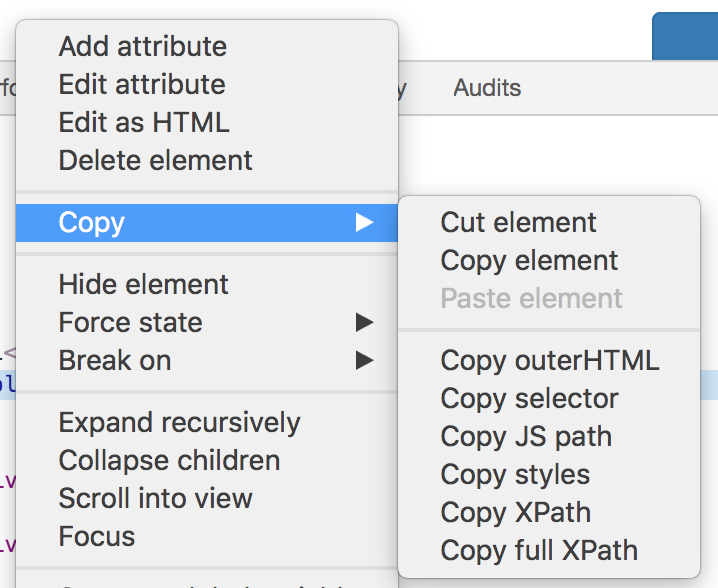
email_field.send_keys(email)Here we’re selecting the email address field using it’s XPath, which is a sort of query language for selecting nodes from an XML document (or, by extension, an HTML document – as HTML is a form of XML). I have some basic knowledge of XPath, but usually I just copy the expressions I need from the Chrome Dev Tools window. To do this, select the right element in Dev Tools, then right click on the element’s HTML code and choose ‘Copy->Copy XPath’:
We then clear the field, and fake the typing of the email string that we took as a command-line argument.
We then repeat the same thing for the password field, and then just send the ‘Enter’ key to submit the field (easier than finding the right submit button and fake-clicking it).
Once we’ve logged in and gone to the correct page (the ‘timeline’ page) we want to narrow down the page to just show ‘Observations’ (as these are usually the only posts that have photographs). We do this by selecting a dropdown, and then choosing an option from the dropdown box:
dropdown = Select(driver.find_element_by_xpath('//*[@id="filter"]/div[2]/div[4]/div/div[1]/select'))
dropdown.select_by_value('7')
I found the right value (7) to set this to by reading the HTML code where the options were defined, which included this line: <option value="7">Observation</option>.
We then click the ‘Submit’ button:
submit_button = driver.find_element_by_id('submit-filter')
submit_button.click()
Now we get to the bit that had me stuck for a while… The page has ‘infinite scrolling’ – that is, as you scroll down, more posts ‘magically’ appear. We need to scroll right down to the bottom so that we have all of the observations before we try to download them.
I tried using various complicated Javascript functions, but none of them seemed to work – so I settled on a naive way to do it. I simply send the ‘End’ key (which scrolls to the end of the page), wait a few seconds, and then count the number of photos on the page (in this case, elements with the class img-responsive, which is used for photos from observations). When this number stops increasing, I know I’ve reached the point where there are no more pictures to load.
The code that does this is fairly easy to understand:
html = driver.find_element_by_tag_name('html')
old_n_photos = 0
while True:
    # Scroll
    html.send_keys(Keys.END)
    time.sleep(3)
    # Get all photos
    media_elements = driver.find_elements_by_class_name('img-responsive')
    n_photos = len(media_elements)

    if n_photos > old_n_photos:
        old_n_photos = n_photos
    else:
        break
We’ve now got a page with all the photos on it, so we just need to extract them. In fact, we’ve already got a list of all of these photo elements in media_elements, so we just iterate through this and grab some details for each image. Specifically, we get the image URL with element.get_attribute('src'), and then extract the unique image ID from that URL. We then choose the filename to save the file as based on the type of element that was used to display it on the web page (the element.tag_name). If it was a <img> tag then it’s an image, if it was a <video> tag then it was a video.
We then download the image/video file from the website using the requests library (that is, not through Selenium, but separately, just using the URL obtained through Selenium):
# For each image that we've found
for element in media_elements:
    image_url = element.get_attribute('src')
    image_id = image_url.split("&d=")[-1]

    # Deal with file extension based on tag used to display the media
    if element.tag_name == 'img':
        extension = 'jpg'
    elif element.tag_name == 'video':
        extension = 'mp4'
    image_output_path = os.path.join(output_folder,
                                        f'{image_id}.{extension}')

    # Only download and save the file if it doesn't already exist
    if not os.path.exists(image_output_path):
        r = requests.get(image_url, allow_redirects=True)
        open(image_output_path, 'wb').write(r.content)
Putting this all together into a command-line script was made much easier by the click library. Adding the following decorators to the top of the main function creates a whole command-line interface automatically – even including prompts to specify parameters that weren’t specified on the command-line:
@click.command()
@click.option('--email', help='Email address used to log in to ParentZone',
              prompt='Email address used to log in to ParentZone')
@click.option('--password', help='Password used to log in to ParentZone',
              prompt='Password used to log in to ParentZone')
@click.option('--output_folder', help='Output folder',
              default='./output')
So, that’s it. Less than 100 lines in total for a very useful script that saves me a lot of tedious downloading. The full script is available on Github
_I do freelance work in Python programming and data science – see my freelance website for more details._
If you found this post useful, please consider buying me a coffee.
This post originally appeared on Robin's Blog.
Categorised as: Programming, Python
My daughter has just finished at a nursery that use parent zone, my wife requested I get the photos from the app. I have been planning on learning Python for work and other reasons. I Googled and found your code and instructions. I have successfully used the script to get all of the photos. Thanks for your efforts!
Really glad it helped!
Filled me with hope and that certain things can really be automated..You are very creative Robin!
Many thanks for this – really useful and helpfully explained!
Quick note that about 20% of our child’s photos were under “Extra Info” (which is option 10 on the dropdown menu):
dropdown.select_by_value(’10’)
Thanks again!
I’m not familiar with coding or how to apply it really, could someone please help me on how I can use this as I need to get my son’s photos from this app.
Thanks.
what variant of selenium do we need to download from http://www.selenium.dev
Would it be Selenium IDE of webdriver?
You should just need to install the selenium Python package (pip install selenium), and download the Webdriver for Chrome from https://chromedriver.chromium.org/downloads.
Thanks a lot for this! Works like a charm.
I think our friends at ParentZone have changed things (as the script can’t find “login” on the sign-in page) and, after it failed, my account has been blocked… not very friendly.
Hi Robin,
I’ve just made a version that works on today’s version of ParentZone. I’ve put it in a repo, feel free to have a look and do what you like with it.
https://github.com/JasonTimmins/ParentZonePhotoDownloader
Hi,
Thanks so much for this, I had to fudge my way through updating this for the version of selenium installed on my machine, find_element_by_xpath etc seems to be deprecated. But I’ve managed to get a copy of all my child’s photos, so again thank you very much ! I’d happily share the code back but not really familiar with Git
This is great! I had exactly the same requirement, to download all of my son’s photos after he left nursery.
To make the process a bit more user-friendly, especially for people not confident using tools like Selenium and other scripting options, I built a Chrome extension that makes it really easy to download all your photos from ParentZone.
Take a look — https://www.nurserymemories.com/