How to: Create a Landsat Metadata database, so you can select images by various criteria
Recently I ran into a situation where I needed to select Landsat scenes by various criteria – for example, to find images over a certain location, within a certain date range, with other requirements on cloudiness and so on. Normally I’d do this sort of filtering using a tool like EarthExplorer, but I needed to do this for about 300 different sets of criteria – making an automated approach essential.
So, I found a way to get all of the Landsat metadata and import it into a database so that I could query it at will and get the scene IDs for all the images I’m interested in. This post shows how to go about doing this – partly as a reference for me in case I need to do it again, but hopefully other people will find it useful.
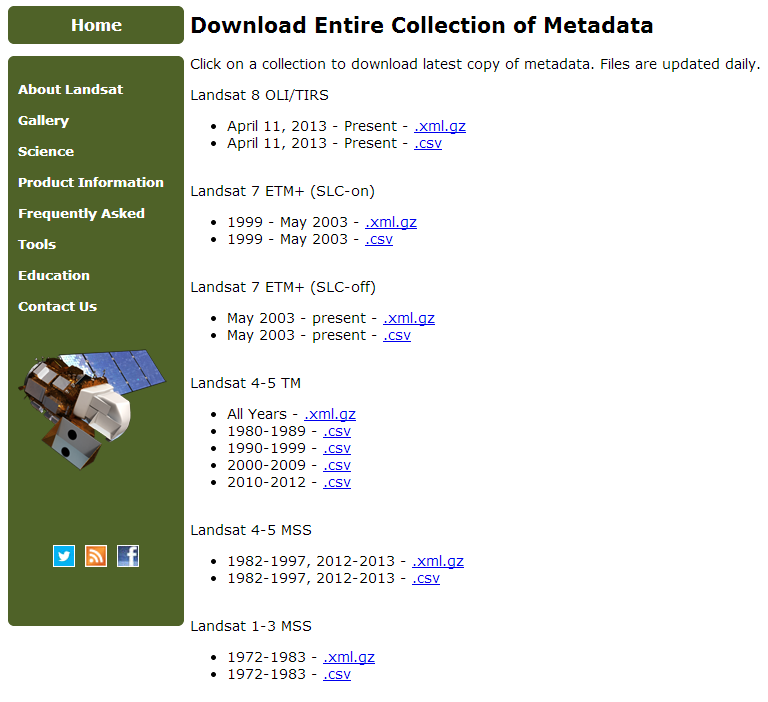
So, to start, you need to get the Landsat metadata from the USGS. On this page, you can download the metadata files for each of the Landsat satellites separately (with Landsat 7 metadata split into SLC-on and SLC-off).
You’ll want the CSV files, so click the link and have a break while it downloads (the CSV files are many hundreds of megabytes!). If you look at the first line of the CSV file once you’ve downloaded it (you may not want to load it in a text editor as it is such a huge file, but something like the head command will work fine), you’ll see the huge number of column headers giving every piece of metadata you could want! Of course, most of the time you won’t want all of the metadata items, so we want to extract just the columns we want.
The problem with this is that lots of the traditional tools that are used for processing CSV files – including text editors, database import tools and Excel – really don’t cope well with large CSV files. These Landsat metadata files are many hundreds of megabytes in size, so we need to use a different approach. In this case, I found that the best approach was using one of the tools from csvkit, a set of command-line tools for processing CSV files, written in Python. One of the key benefits of these tools is that they process the file one line at a time, in a very memory-efficient way, so they can work on enormous files very easily. To extract columns from a CSV file we want to use csvcut, and we can call it with the following command line
csvcut -c 5,6,1,2,3,7,8,20,25,30 LANDSAT_ETM.csv > LANDSAT_ETM_Subset.csv
This will extract the 5th, 6th, 1st, 2nd 3rd etc columns from LANDSAT_ETM.csv to LANDSAT_ETM_Subset.csv. To get a list of the columns in the file along with their ID number, so that you can choose which ones you want to extract, you can run:
csvcut -n LANDSAT_ETM.csv
After doing this you’ll have a far smaller CSV file in LANDSAT_ETM_Subset.csv that just contains the columns you’re interested in. There’s only one problem with this file – it still has the headers at the beginning. This is great for a normal CSV file, but when we import it into the database we’ll find that the header line gets imported too – not what we want! The easiest way to remove it is using the following command:
cat LANDSAT_ETM_Subset.csv | sed "1 d" > LANDSAT_ETM_Subset.csv
Again, this doesn’t load the whole file in to memory, so will work with large files happily.
We then need to create the database. This can be done with any database system, but to get a simple local database I decided to use SQLite. Once you’ve installed this you can do everything you need from the command-line (you can create the tables using a GUI tool such as SQLite Administrator, but you won’t be able to do the import using that tool – it’ll crash on large CSV files). To create a database simply run:
sqlite LandsatMetadata.sqlite
which will create a database file with that name, and then drop you in to the SQLite console. From here you can type any SQL commands (including those to create or modify tables, plus queries), plus SQLite commands which generally start with a . In this case, we need to create a table for the various columns we’ve chosen from our CSV. It is important here to make sure that the column names are exactly the same as those in the CSV, or the import command won’t work (you can change the names later with ALTER TABLE if needed). You can take the following SQL and modify it to your needs.
CREATE TABLE [images] (
[browseAvailable] BOOLEAN  NULL,
[browseURL] VARCHAR(500)  NULL,
[sceneID] VARCHAR(100)  NULL,
[sensor] VARCHAR(20)  NULL,
[acquisitionDate] DATE  NULL,
[path] INTEGER  NULL,
[row] INTEGER  NULL,
[cloudCoverFull] FLOAT  NULL,
[dayOrNight] VARCHAR(10)  NULL,
[sceneStartTime] VARCHAR(30)  NULL
);
Just type this into the SQLite console and the table will be created. We now need to import the CSV file, and first we have to define what is used as the separator in the file. Obviously, for a CSV file, this is a comma, so we type:
.separator ,
And then to actually import the CSV file we simply type:
.import LANDSAT_ETM_Subset.csv images
That is, .import followed by the name of the CSV file and the name of the table to import into. Once this is finished – it may take a while – you can check that it imported all of the rows of the CSV file by running the following query to get the number of rows in the table:
SELECT COUNT() from images;
and you can compare that to the output of
wc -l LANDSAT_ETM_Subset.csv
which will count the lines in the original file.
Your data is now in the database and you’re almost done – there’s just one more thing to do. This involves changing how the dates and times are represented in the database, so you can query them easily. Still in the SQLite console, run:
UPDATE images
SET startTime=time(substr(images.sceneStartTime,10, length(images.sceneStartTime)));
And then…you’re all done! You can now select images using queries like:
SELECT * FROM images WHERE path=202 AND row=24
AND acquisitionDate > date("2002-03-17","-1 months")
AND acquisitionDate < date("2002-03-17","+1 months")
Once you’ve got the results from a query you’re interested in, you can simply create a text file with the sceneIDs for those images and use the Landsat Bulk Download Tool to download the images.
If you found this post useful, please consider buying me a coffee.
This post originally appeared on Robin's Blog.
Categorised as: Academic, How To, Programming, Remote Sensing
This is a great post! Very useful. Thanks a lot!